So, you need to fumigate your place?
How to Prepare Your Bay Area Home or Office for Termite Fumigation
Preparing your home for drywood termite fumigation is a critical process that ensures the safety of your household and the effectiveness of the treatment. Proper preparation not only facilitates a smooth fumigation process but also helps in achieving complete eradication of termites. This comprehensive guide will walk you through the necessary steps to prepare your home, incorporating best practices and safety measures.
Pre-Fumigation Preparations
Fumigation requires vacating your home for a period, typically 24 to 72 hours, depending on the size of the structure and environmental conditions. Plan for alternative accommodations for your family and pets during this time. Ensure you have all necessary personal items, as re-entry is prohibited until the fumigation process is complete and the property is deemed safe.
2. Notify Your Neighbors
Informing your neighbors about the upcoming fumigation is courteous and beneficial. They may have concerns about the process, and providing them with information can alleviate any apprehensions. Additionally, coordinating with neighbors can help in addressing termite issues collectively, reducing the risk of re-infestation.
3. Schedule Gas Service Interruption
Contact your gas utility provider to arrange for the gas supply to be turned off before fumigation begins. This is a safety requirement, and only authorized personnel should handle the gas shut-off and restoration. Coordinate with your fumigation company to ensure proper timing.
4. Secure Valuables and Personal Items
While fumigation companies take precautions, it’s advisable to remove or securely store valuable items such as jewelry, important documents, and electronics. This minimizes the risk of damage or loss during the process.
5. Remove or Protect Food and Medications
All consumable items not sealed in airtight containers must be removed or double-bagged in special fumigation bags provided by your fumigator. This includes:
-
Perishable and non-perishable foods
-
Medications and supplements
-
Pet food
6. Prepare Indoor Spaces
-
Open Interior Doors and Cabinets: Facilitate the fumigant’s circulation by opening all interior doors, cabinets, drawers, and closets.
-
Raise Blinds and Open Drapes: This allows the fumigator access to windows and enhances ventilation post-fumigation.
-
Remove or Uncover Mattresses and Cushions: Plastic covers can hinder fumigant penetration. Remove or open waterproof covers on mattresses and cushions to ensure effective treatment.
7. Address Outdoor Areas
-
Trim Vegetation: Cut back trees, shrubs, and plants at least 18 inches from the structure to allow the fumigation tent to fall freely to the ground.
-
Water Soil Near the Foundation: Thoroughly water the soil up to 18 inches from the outer walls to protect outdoor plants and create a barrier that helps contain the fumigant.
-
Remove Outdoor Items: Move outdoor furniture, decorative items, and potted plants away from the structure to prevent damage and allow proper tenting.
8. Secure Pets and Plants
All pets, including fish and reptiles, must be removed from the property. Houseplants should also be taken out to prevent exposure to the fumigant. Inform neighbors to keep their pets away during the fumigation period.

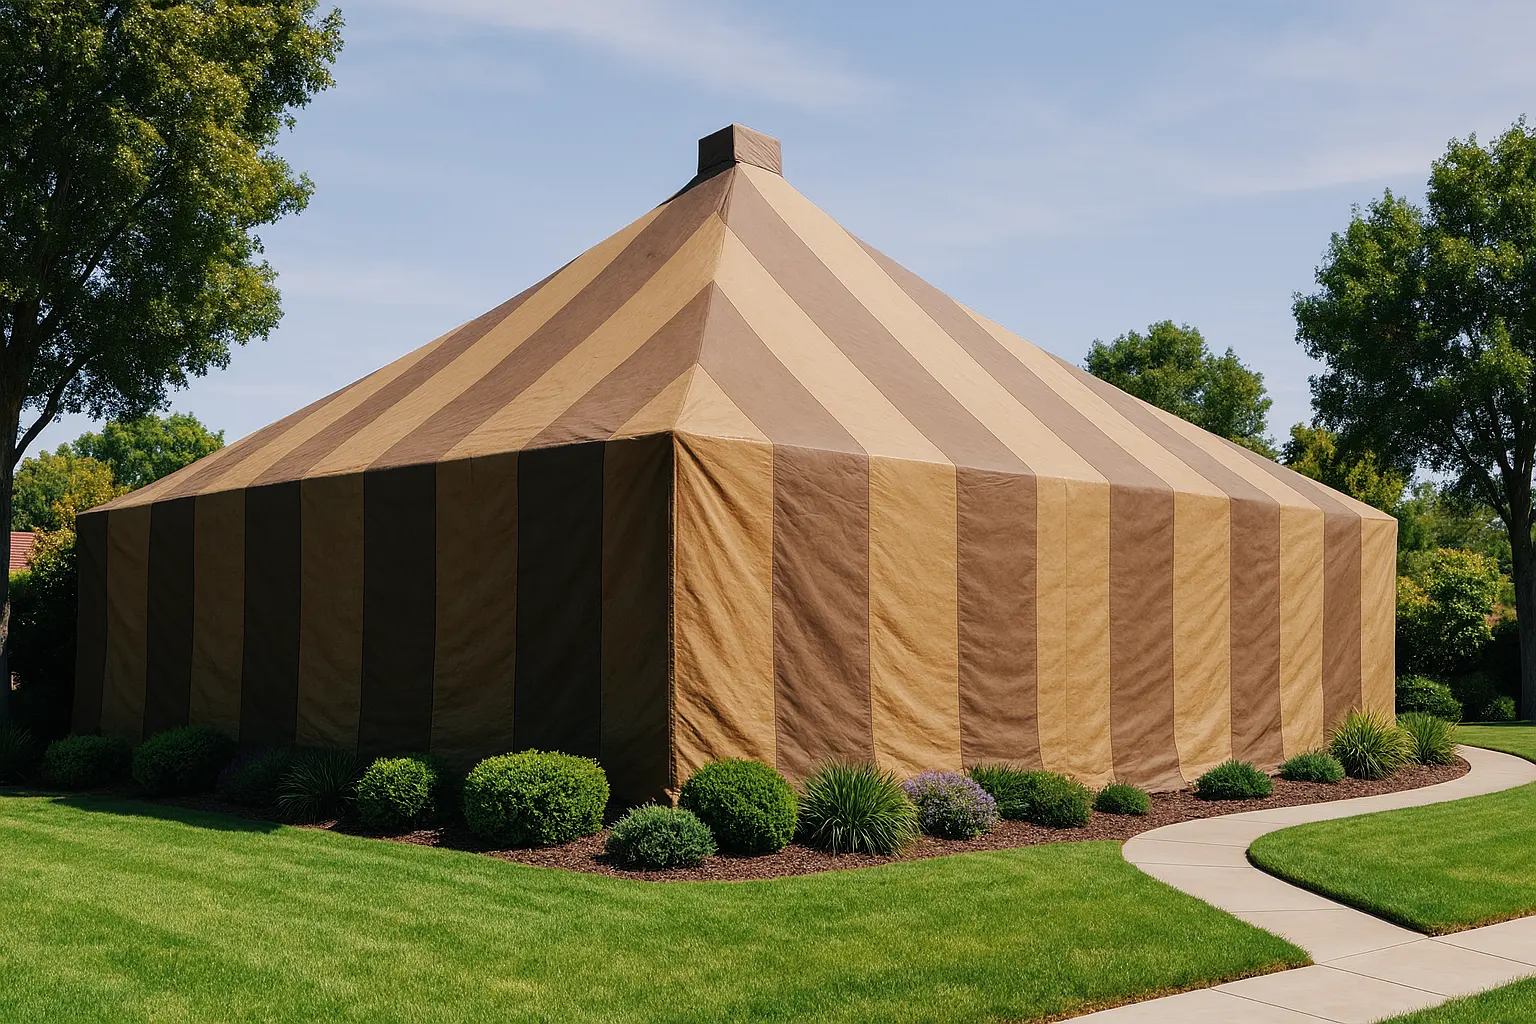
During Fumigation
Once preparations are complete, the fumigation team will cover your home with a tent and introduce the fumigant. The process typically involves:
-
Sealing the Structure: Ensuring the tent is secure to contain the fumigant.
-
Introducing the Fumigant: Releasing the gas to penetrate all infested areas.
-
Exposure Period: Maintaining the fumigant in the structure for a specified time to ensure complete eradication of termites.
The fumigation team will monitor gas levels to confirm effectiveness and safety.
Post-Fumigation Steps
Once preparations are complete, the fumigation team will cover your home with a tent and introduce the fumigant. The process typically involves:
-
Sealing the Structure: Ensuring the tent is secure to contain the fumigant.
-
Introducing the Fumigant: Releasing the gas to penetrate all infested areas.
-
Exposure Period: Maintaining the fumigant in the structure for a specified time to ensure complete eradication of termites.
The fumigation team will monitor gas levels to confirm effectiveness and safety.
1. Aeration and Clearance
After the exposure period, the fumigation team will remove the tent and aerate your home. This involves ventilating the structure to allow the fumigant to dissipate. Technicians will use specialized equipment to test the air quality and ensure it’s safe for re-entry.
2. Restoring Utilities
Once your home is cleared for re-entry, contact your gas utility provider to restore service. Do not attempt to turn the gas back on yourself; this should be handled by professionals.
3. Returning Items and Cleaning
-
Reintroduce Plants and Pets: Once the home is deemed safe, you can bring back plants and pets.
-
Dispose of Protective Bags: If you used fumigation bags for food or medications, dispose of them properly.
-
General Cleaning: While fumigants typically leave no residue, you may choose to wipe down surfaces and vacuum floors as a precaution.
Safety Considerations
-
Follow Professional Guidance: Adhere strictly to the instructions provided by your fumigation company to ensure safety and effectiveness.
-
Communicate with the Fumigation Team: Maintain open communication to address any concerns or questions throughout the process.